Monthly Archives: October 2013
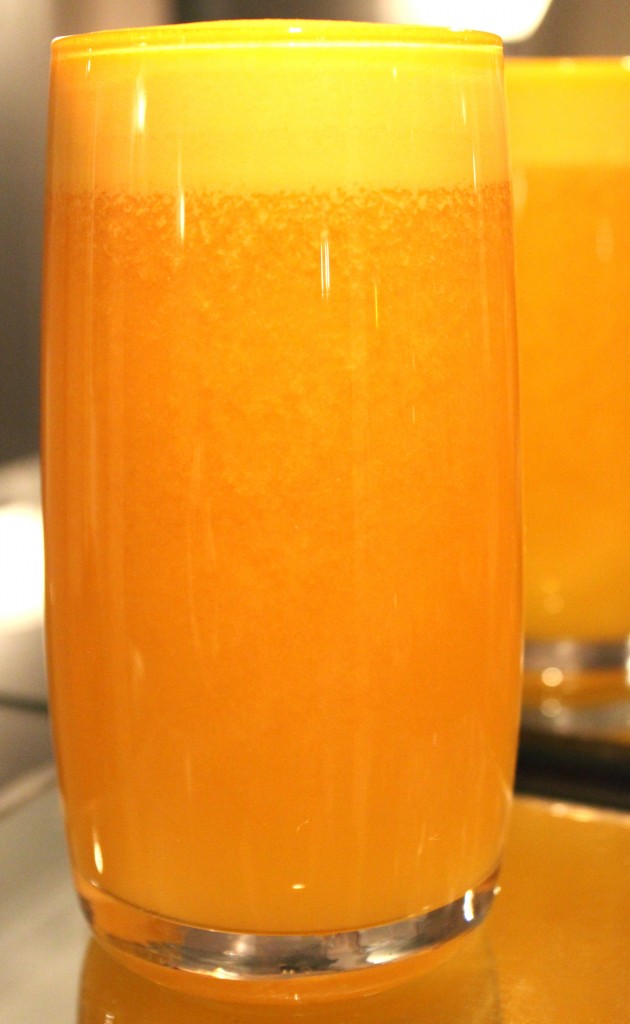
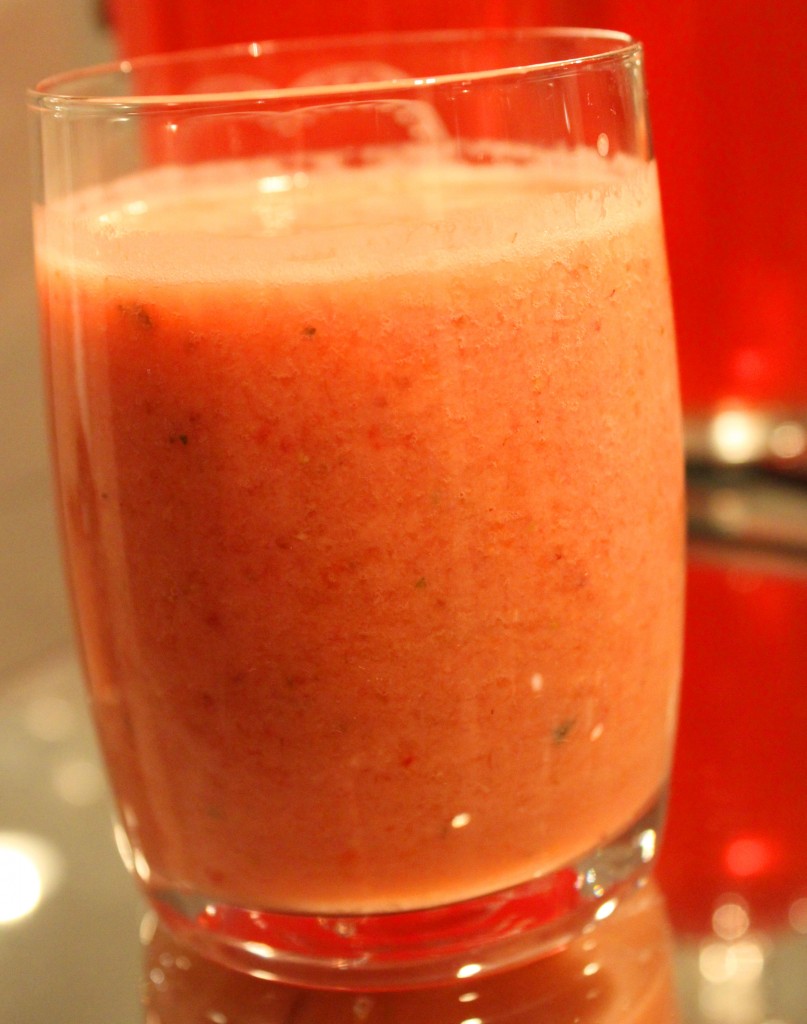
Fresh O.J with a Zing!
 Homemade Orange juice with a Kick!
Winter is coming and the flu is right around the corner, there is a way of preventing the runny nose, headaches and fever. How? Take care of your body, eat healthy, drink plenty of fluids stay away from junk food, eat fruits and vegetables, get plenty of sleep and exercise!
We all know that this is something we should practice all the time, but we also have the most awesome juice on the market and you can make it in your own kitchen!
Best of all it’s not processed and packed with all the artificial products and junk you don’t even know what are and how they are made!
All you need for this juice, is a blender or a juicer, oranges and fresh ginger root!
Did you know:
Ginger:
The health benefits of ginger are thought to include anti fungal, antibacterial, anti clotting, antiviral, analgesic, increases blood flow and often use for treating nausea caused by seasickness and morning sickness during pregnancy.
Oranges:
You may already know that oranges are a great source of vitamin C, but did you know just one orange alone supplies 116.2% of the daily value for vitamin C!!
Drinking one glass of fresh orange juice is more protective than consuming Vitamin C supplements. So we recommend you drink/eat at least one orange a day and throw out those vitamin supplements NOW! 
After chocolate and vanilla, orange is the world’s favorite flavor!
Now with that information we hope we have convinced you to start making your own O.J at least every other day through the winter 
O.J & Ginger Root Juice:
- 3 fresh Oranges
- 1/2 cm chunk of Ginger root
- ice cubes
- Peel the oranges leaving as much pith as possible for a creamier and more nutritious juice.
- Juice the oranges and ginger together using a juicer and serve with ice cubes!
- If you’re using a blender you can mix all the ingredients together and strain if desired.
Enjoy & stay healthy!
P.S. We recommend you use the Philips Juicers! They have been awarded as the best juicers on the market! We use Philips Avance Juicer HR1871!
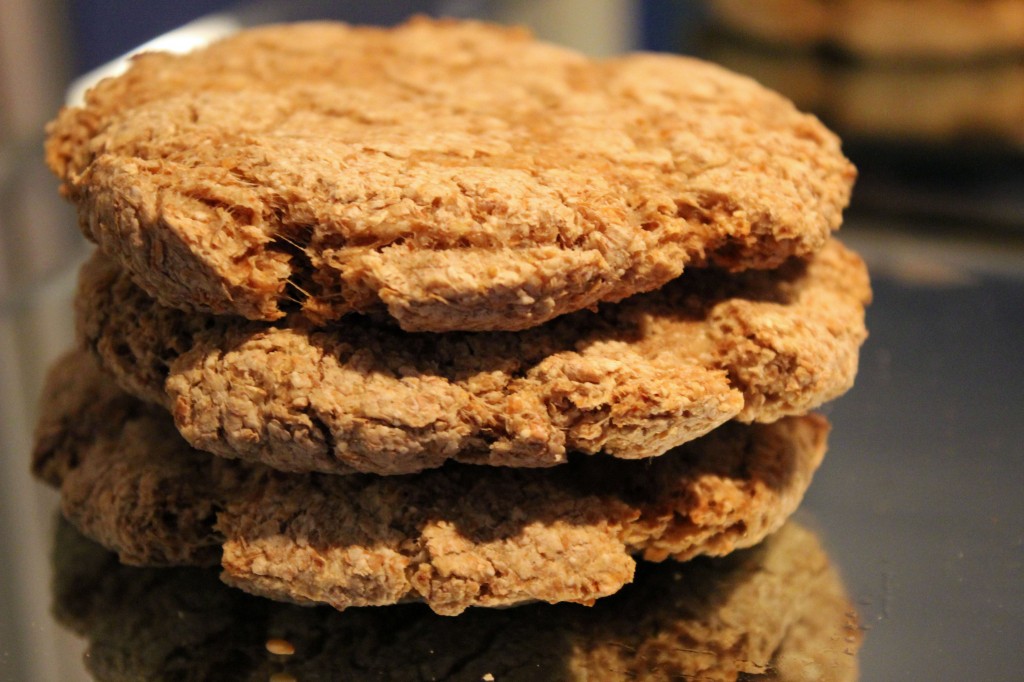
Whole Wheat Pita Bread
Healthy, healthy, healthy!
If you’re looking to impress your friends and family try this simple and quick recipe! It only has 4 ingredients! You don’t need any sugar and best of all it’s not processes and it keeps well in the freezer! They can also be reheated at 350 F (177 C)
Because of the whole wheat they wont rise as much as with all purpose flour so if you like them to be fluffier add half and half.
Recipe:
- 4 Cups Whole Wheat flour (or 2 cups whole wheat + 2 cups self rising/all purpose flour)
- 1 1/4 Cups warm water (120F/50C)
- 1 Tbsp dry Yeast
- 1/2 tsp salt
Prep:
- Preheat your oven to 500F (260C). Very important that this is the first thing you do, the pita breads need the instant heat to puff.
- In your stand mixer sift together 2 cups of the flour and the dry yeast.
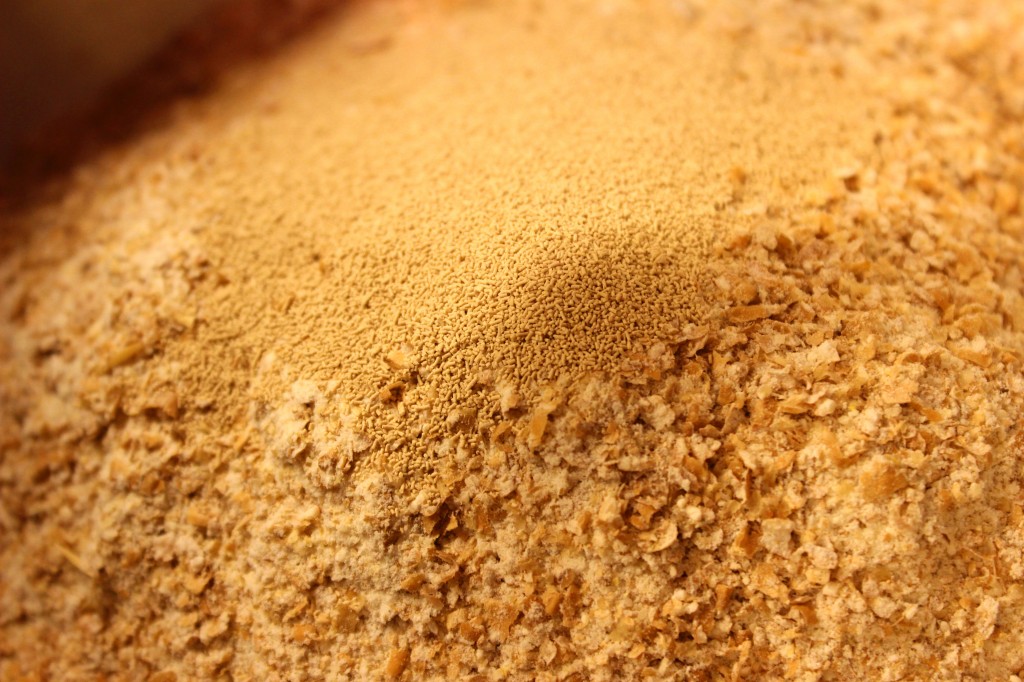
- Add the water and salt and mix well.
- Gradually pour the remainder of the flour and mix well until the dough doesn’t stick to the sides. (note that you might not need to add all of the flour, it is ready when it cleans from the bowl)
- Let the mixer kneed the dough until it’s smooth, about 3-5 minutes depending on your mixer.
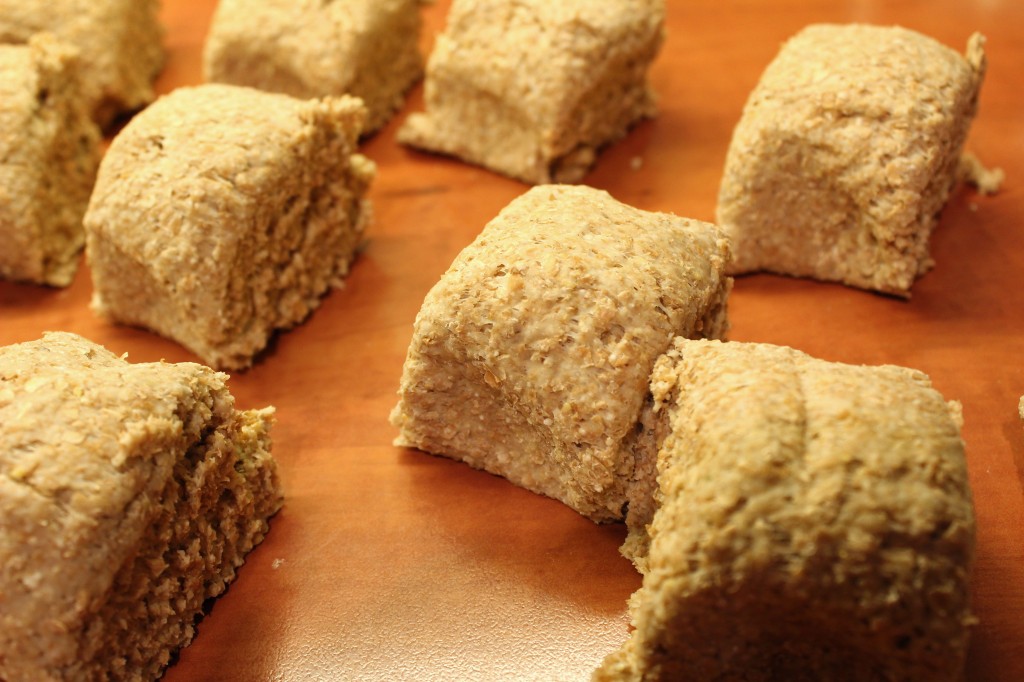
- Form the dough into 8 balls and on roll each ball into 4-5 inch (10-12 cm) circles and about 1,5 inch (0.5 cm) thick.
-
Place on a baking sheet lined with parchment paper and allow to rise for 30 minutes, under a tea towel.
- Before you place the pan in the oven flip them carefully over, this is what makes them puff.
- Bake at the bottom rack for 5 minutes.
- When the pita breads come out of the oven they will be hard but will soften as they cool. You can put them in a bag or airtight container straight from the oven, this will also help them soften.
Serve:
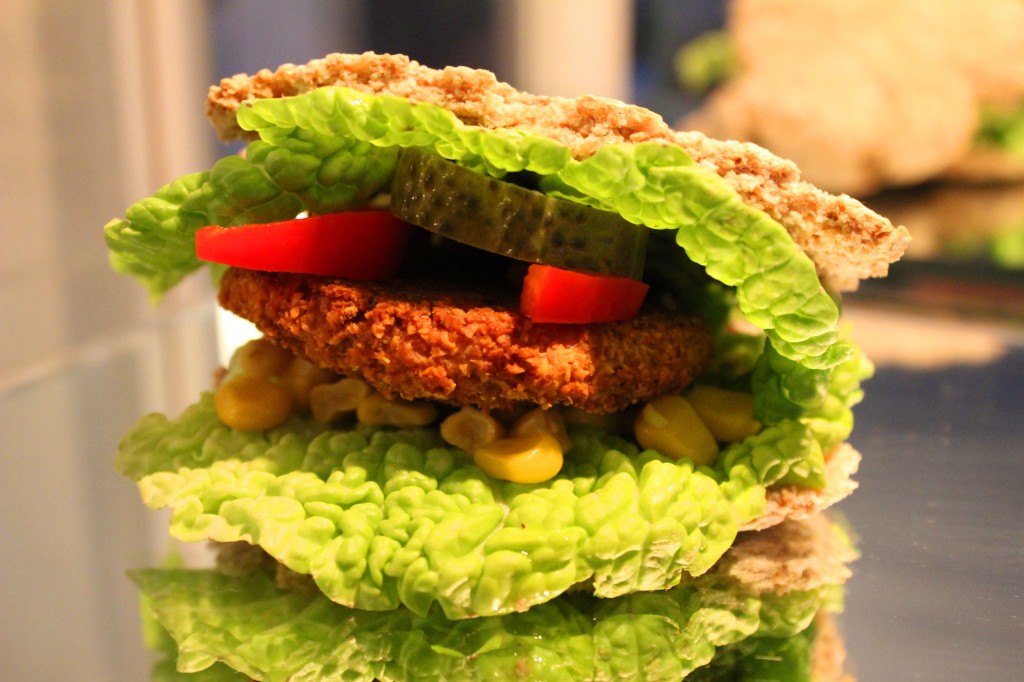
Choose your favorite filling and enjoy! We chose to use our delicious spicy falafel! Click on the picture for the recipe 
Enjoy!
Spicy Falafel
Spicy, Crispy & Delicious
This falafel recipe is a healthier twist on the famous “street food” where our method is no fry, we bake them in the oven and they are just as crispy! They have so much flavor and are tasty and crispy on the outside! 😀
You’ll need a food processor for the best result but if you don’t have one you can use a potato masher.The chickpeas you can find dry in bags in most grocery stores or canned chickpeas they are already soaked. If you go for the dry chickpeas you’ll have to soak them yourself 15-24 h before you make this recipe. To soak the chickpeas all you need to do is pour them in a mixing bowl along with some cold water. The peas will double in size so make sure you have enough water. When you notice the water turning yellowish’ change the water, you might need to do this once or twice.
For the Pita Bread Recipe head over to this link 
Ingredients: (serves 4)
- 400 g/14 oz Chick peas (dry or canned)
- 1 Large Egg (beaten)
- 1 Tbsp olive oil
- 1 large Onion (chopped)
- 1 Garlic clove (crushed)
- 1.5 tsp mixed Herbs
- 2 tsp ground Cumin
- 1 tsp Chilly powder
- 1/2 tsp salt
- 1 Lemon Zest (or juice)
- 1 tsp Cayenne pepper
Prep:
- Finely chop the onion and crush the garlic clove. Fry the onion for a few minutes (2-4) along with 1 Tbsp olive oil. Then add the garlic and fry for another couple of minutes and remove from heat.
- Drain and rinse the chickpeas and pour them into your food processor along with the onion and garlic. Mix until it’s all grainy and finely chopped. You might have to scrape down the sides because the chickpeas do tend to stick to the sides.
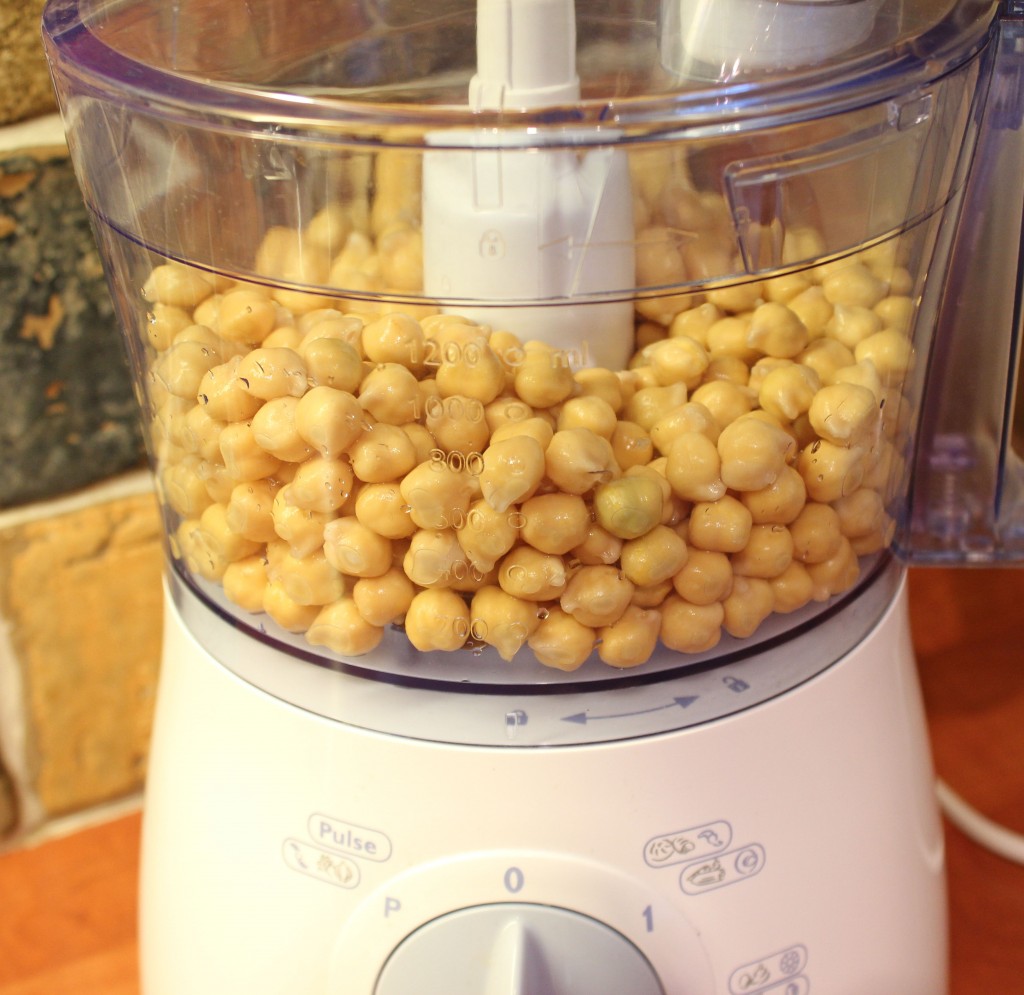
- Transfer into a mixing bowl and all your spices, herbs and lemon zest/juice while tasting to make sure you it’s how it should be, you might need to add more herbs or spices, depending on how you like it

- When you feel satisfied with the final result add the beaten egg and mix everything together well.
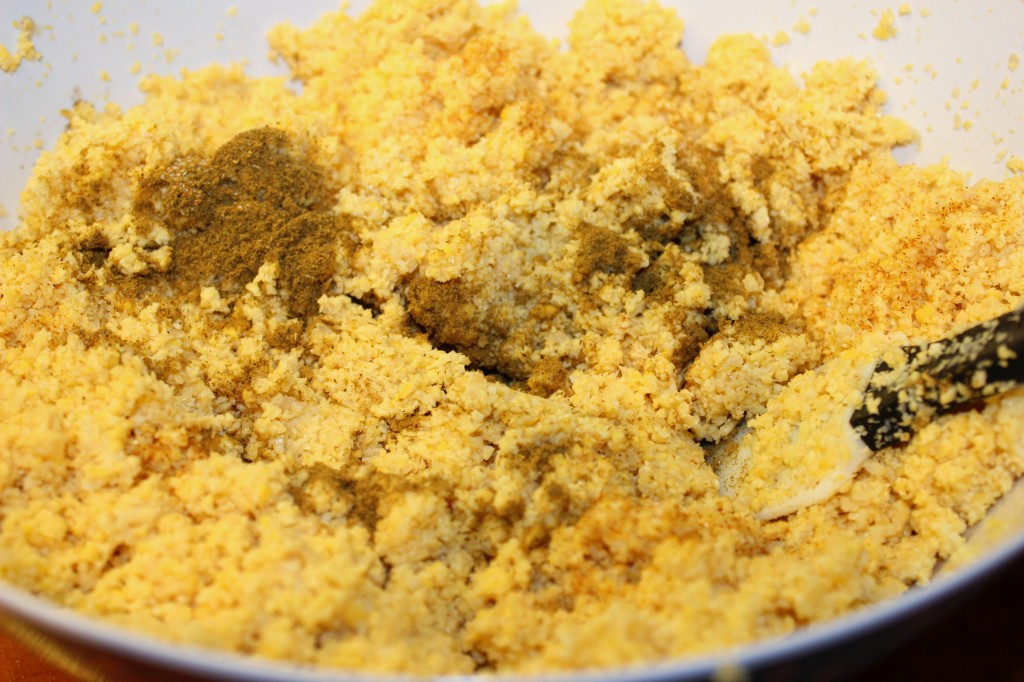
- Now preheat your oven to 400F (200C).
- Divide the mixture into egg sized balls and press down to get them flat but not to thin! Place them on a parchment paper and let them rest in the fridge for about 25-35 minutes.
- Remove from fridge and place the falafels and parchment paper on a baking sheet. If desired drizzle some olive oil on top and bake for 25-30 minutes or until golden brown. Turn occasionally to insure they get baked evenly.
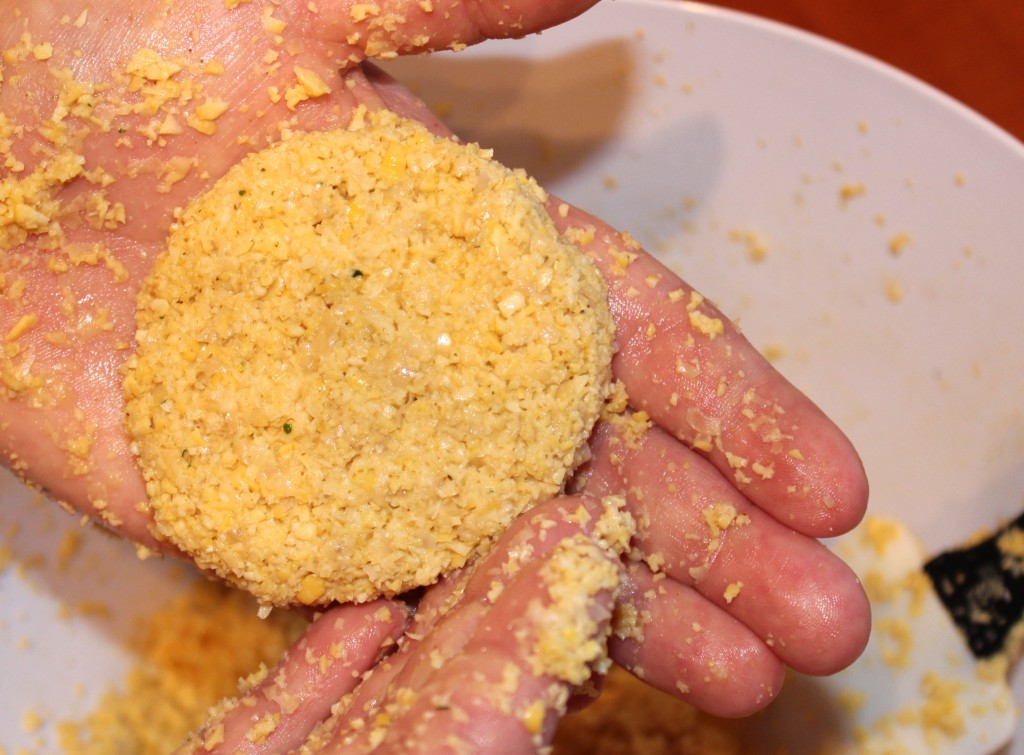
Serve:
Now split your pita bread in the middle and serve with some fresh salad of your choice we like ours with some lettuce, cucumber, bell peppers, pickles, sweet corn and lastly drizzle some lemon juice to taste. Delicious 
Enjoy 
Fresh Breakfast Smoothie
Fresh & Light
Start your mornings FRESH with this amazing smoothie with a twist, Kiwi! This is great for those of you who are in a hurry in the mornings, so fast and so simple! Blend it and take it with you out the door! It will give you that kick you need to feel refreshed before work, college or whatever the day might bring for you 😀
All you need is:
- 1 Navel Orange
- 1 Kiwi
- 1 1/2 Cups Strawberries
- 1/2 Banana
- 4 Ice Cubes
- 1/2 Cup Water
- 1 Tbsp Coconut Oil
Peal the orange and kiwi, cut into chunks, add all your ingredients in the blender and mix well! (you can add some oatmeal if you like)
Enjoy!! 


