Category Archives: Recipes
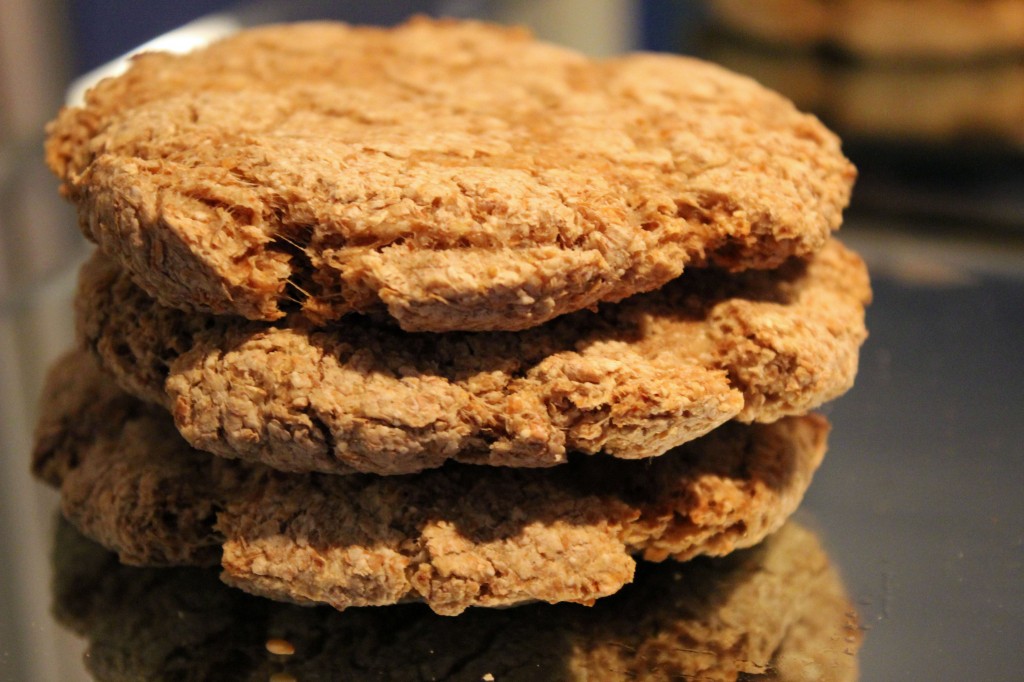
Whole Wheat Pita Bread
Healthy, healthy, healthy!
If you’re looking to impress your friends and family try this simple and quick recipe! It only has 4 ingredients! You don’t need any sugar and best of all it’s not processes and it keeps well in the freezer! They can also be reheated at 350 F (177 C)
Because of the whole wheat they wont rise as much as with all purpose flour so if you like them to be fluffier add half and half.
Recipe:
- 4 Cups Whole Wheat flour (or 2 cups whole wheat + 2 cups self rising/all purpose flour)
- 1 1/4 Cups warm water (120F/50C)
- 1 Tbsp dry Yeast
- 1/2 tsp salt
Prep:
- Preheat your oven to 500F (260C). Very important that this is the first thing you do, the pita breads need the instant heat to puff.
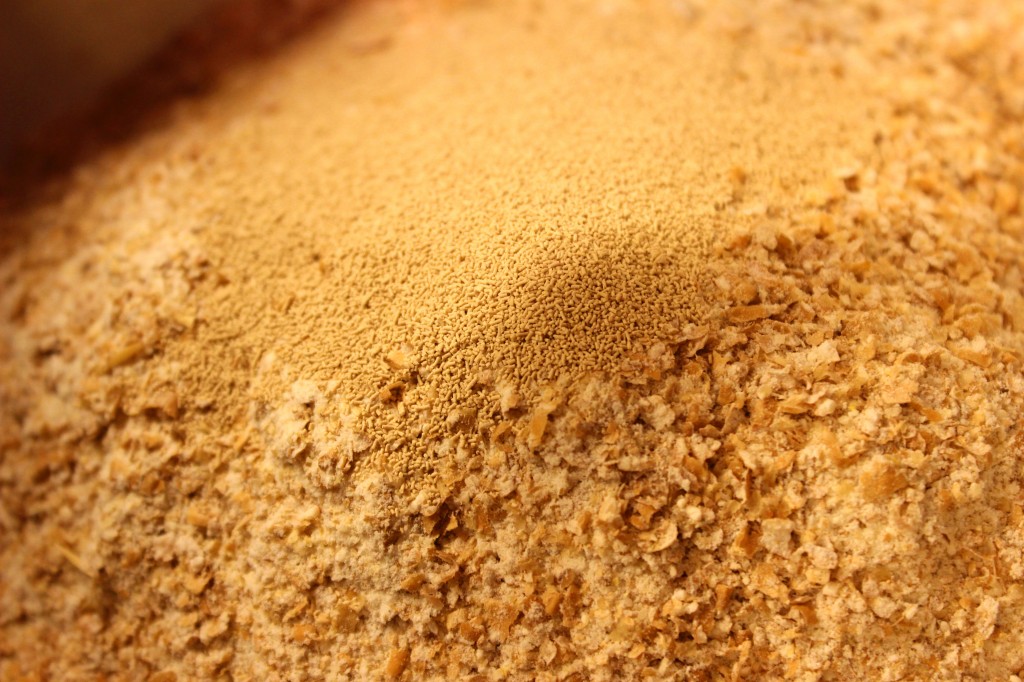
- In your stand mixer sift together 2 cups of the flour and the dry yeast.
- Add the water and salt and mix well.
- Gradually pour the remainder of the flour and mix well until the dough doesn’t stick to the sides. (note that you might not need to add all of the flour, it is ready when it cleans from the bowl)
- Let the mixer kneed the dough until it’s smooth, about 3-5 minutes depending on your mixer.
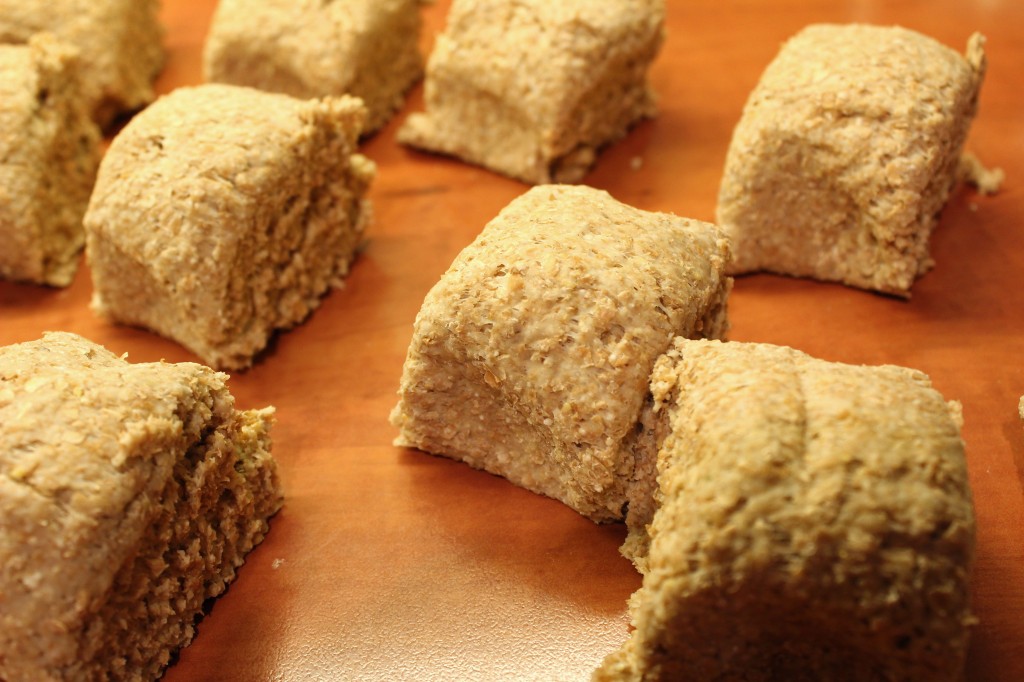
- Form the dough into 8 balls and on roll each ball into 4-5 inch (10-12 cm) circles and about 1,5 inch (0.5 cm) thick.
-
Place on a baking sheet lined with parchment paper and allow to rise for 30 minutes, under a tea towel.
- Before you place the pan in the oven flip them carefully over, this is what makes them puff.
- Bake at the bottom rack for 5 minutes.
- When the pita breads come out of the oven they will be hard but will soften as they cool. You can put them in a bag or airtight container straight from the oven, this will also help them soften.
Serve:
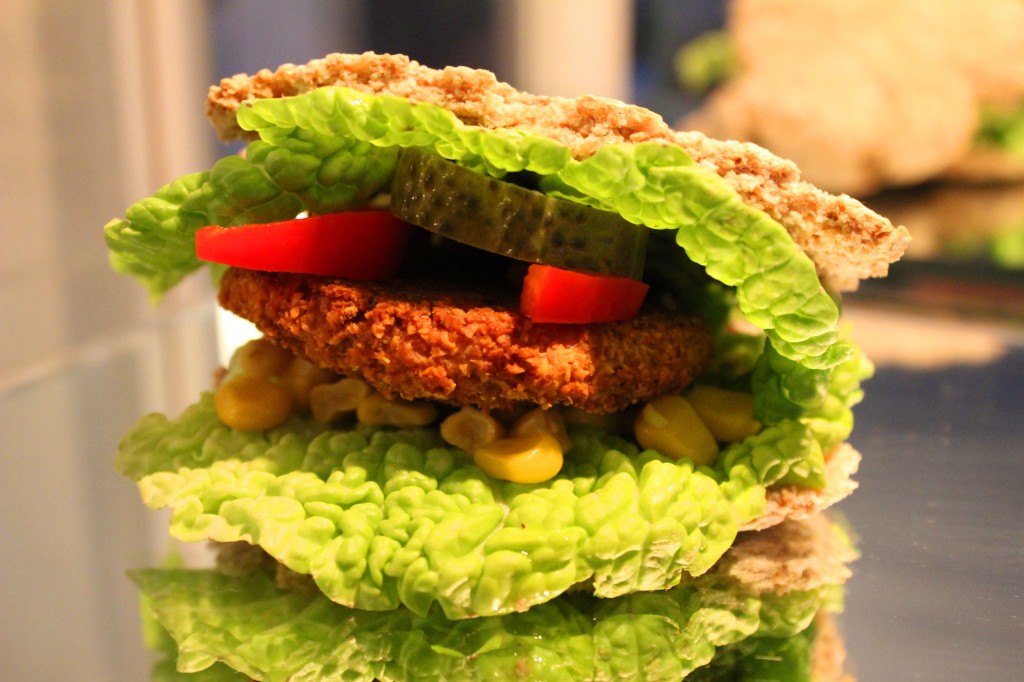
Choose your favorite filling and enjoy! We chose to use our delicious spicy falafel! Click on the picture for the recipe 
Enjoy!
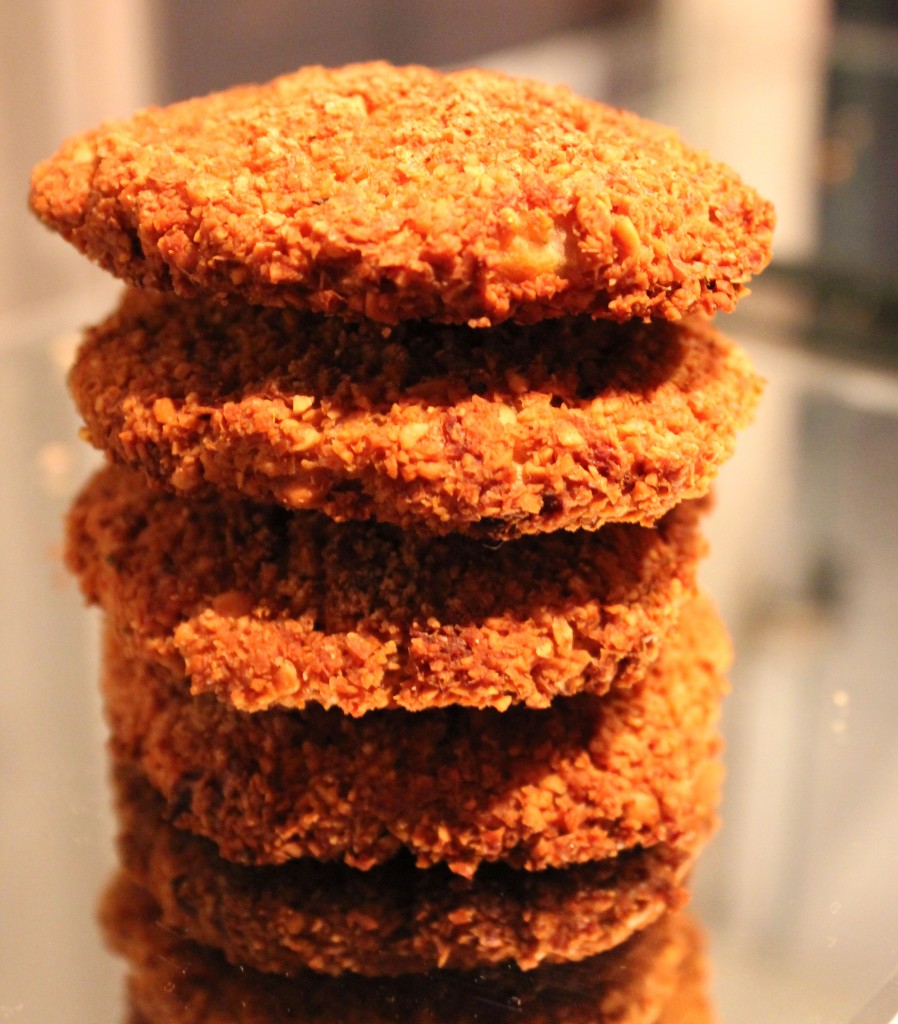
Spicy Falafel
Spicy, Crispy & Delicious
This falafel recipe is a healthier twist on the famous “street food” where our method is no fry, we bake them in the oven and they are just as crispy! They have so much flavor and are tasty and crispy on the outside! 😀
You’ll need a food processor for the best result but if you don’t have one you can use a potato masher.The chickpeas you can find dry in bags in most grocery stores or canned chickpeas they are already soaked. If you go for the dry chickpeas you’ll have to soak them yourself 15-24 h before you make this recipe. To soak the chickpeas all you need to do is pour them in a mixing bowl along with some cold water. The peas will double in size so make sure you have enough water. When you notice the water turning yellowish’ change the water, you might need to do this once or twice.
For the Pita Bread Recipe head over to this link 
Ingredients: (serves 4)
- 400 g/14 oz Chick peas (dry or canned)
- 1 Large Egg (beaten)
- 1 Tbsp olive oil
- 1 large Onion (chopped)
- 1 Garlic clove (crushed)
- 1.5 tsp mixed Herbs
- 2 tsp ground Cumin
- 1 tsp Chilly powder
- 1/2 tsp salt
- 1 Lemon Zest (or juice)
- 1 tsp Cayenne pepper
Prep:
- Finely chop the onion and crush the garlic clove. Fry the onion for a few minutes (2-4) along with 1 Tbsp olive oil. Then add the garlic and fry for another couple of minutes and remove from heat.
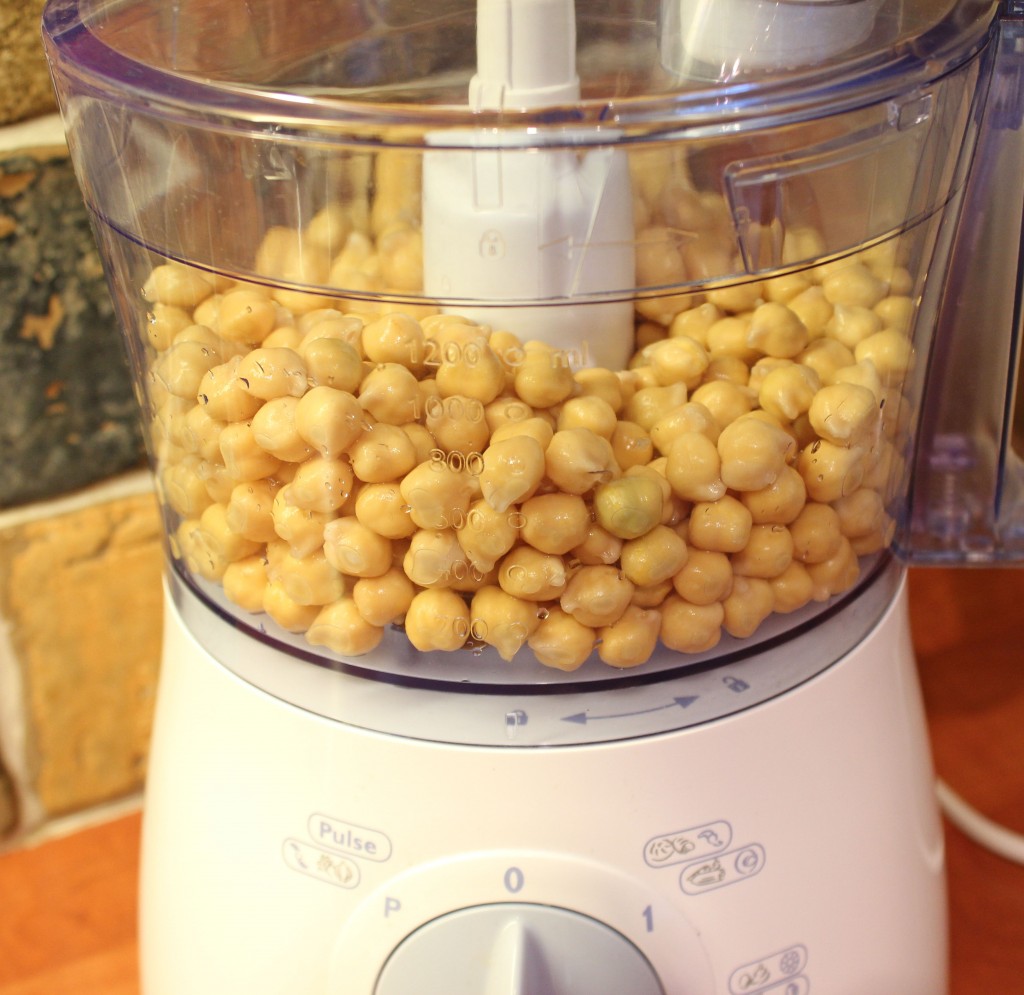
- Drain and rinse the chickpeas and pour them into your food processor along with the onion and garlic. Mix until it’s all grainy and finely chopped. You might have to scrape down the sides because the chickpeas do tend to stick to the sides.
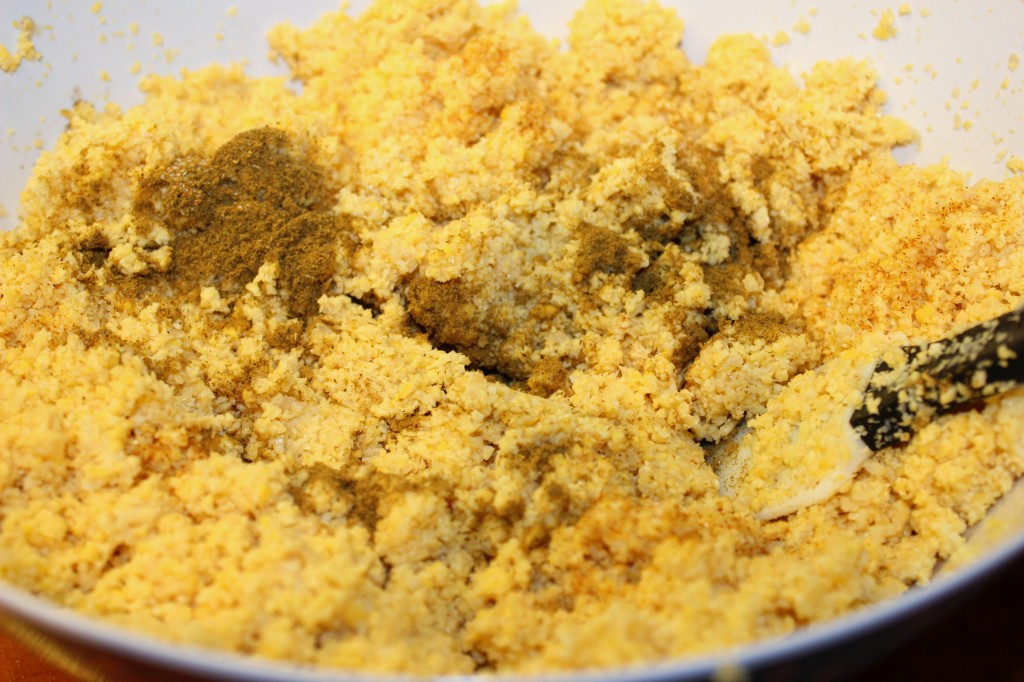
- Transfer into a mixing bowl and all your spices, herbs and lemon zest/juice while tasting to make sure you it’s how it should be, you might need to add more herbs or spices, depending on how you like it

- When you feel satisfied with the final result add the beaten egg and mix everything together well.
- Now preheat your oven to 400F (200C).
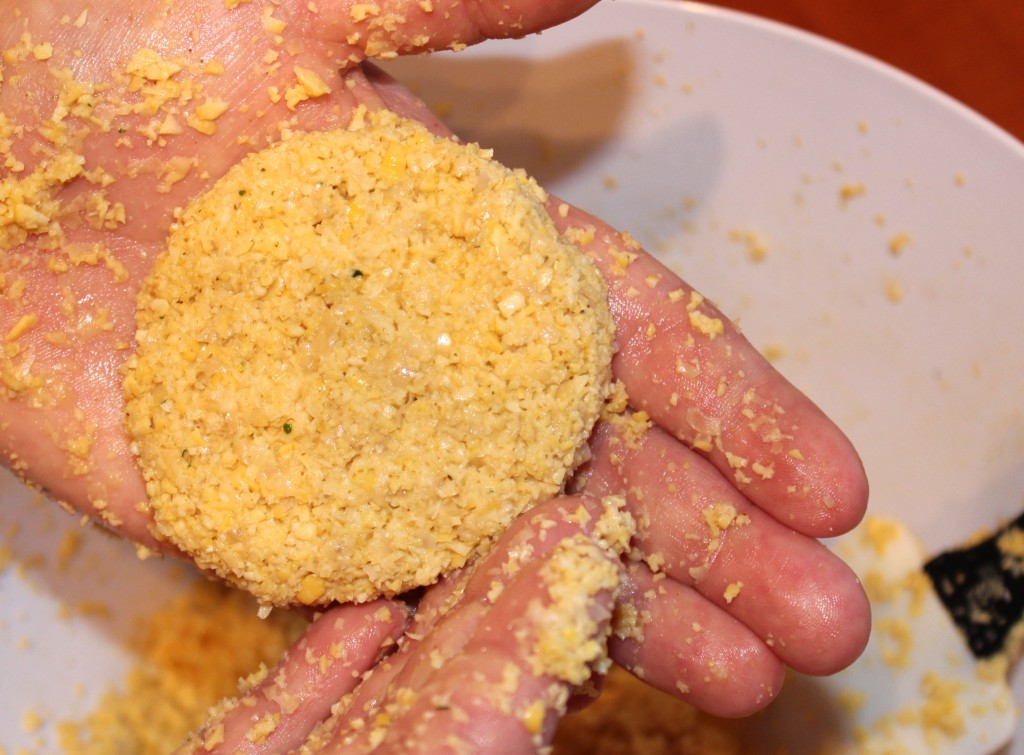
- Divide the mixture into egg sized balls and press down to get them flat but not to thin! Place them on a parchment paper and let them rest in the fridge for about 25-35 minutes.
- Remove from fridge and place the falafels and parchment paper on a baking sheet. If desired drizzle some olive oil on top and bake for 25-30 minutes or until golden brown. Turn occasionally to insure they get baked evenly.
Serve:
Now split your pita bread in the middle and serve with some fresh salad of your choice we like ours with some lettuce, cucumber, bell peppers, pickles, sweet corn and lastly drizzle some lemon juice to taste. Delicious 
Enjoy 
Rice Pudding
There’s a way enjoying this recipe without making it super sweet and unhealthy. We love this recipe and hopefully you will to. Today we are going to show you how we make our “Sweet” Rice pudding without adding any sugar. Hopefully you guys will enjoy this as much as we do.
This is what you’ll need:
Serves 3
Ingredients:
- 1 Cup Coconut milk
- 1 Cup cooked Rice (white or brown)
- 1 Tbsp Coconut flakes
- 1 tsp Vanilla essence (or honey)
- 1 Tbsp Raisins
- 1/4 Cup Almonds (optional)
- 1 tsp of Cinnamon (to taste)
- 1 Cup fresh Strawberries
- 2. tsp Stevia (optional)
1. You’ll need 1 cup of cooked rice (white or brown). (see tip below on how to make your rice)
2. We need the thicker milk to be mixed with the liquid because it usually separates when stored for some time, so before you open the can of coconut milk shake it well (or stir it well).
3. Pour the coconut milk in a small pot and bring to simmer over medium low heat.
4. Add the vanilla essence (or honey) and cinnamon to the milk and stir to combine.
5. Add the cooked rice to the mix and continue stirring until it is evenly distributed.
6. Let it simmer on low heat in the pot for about 5-10 minutes, you’ll notice the milk starting to boil and the mixture will thicken.
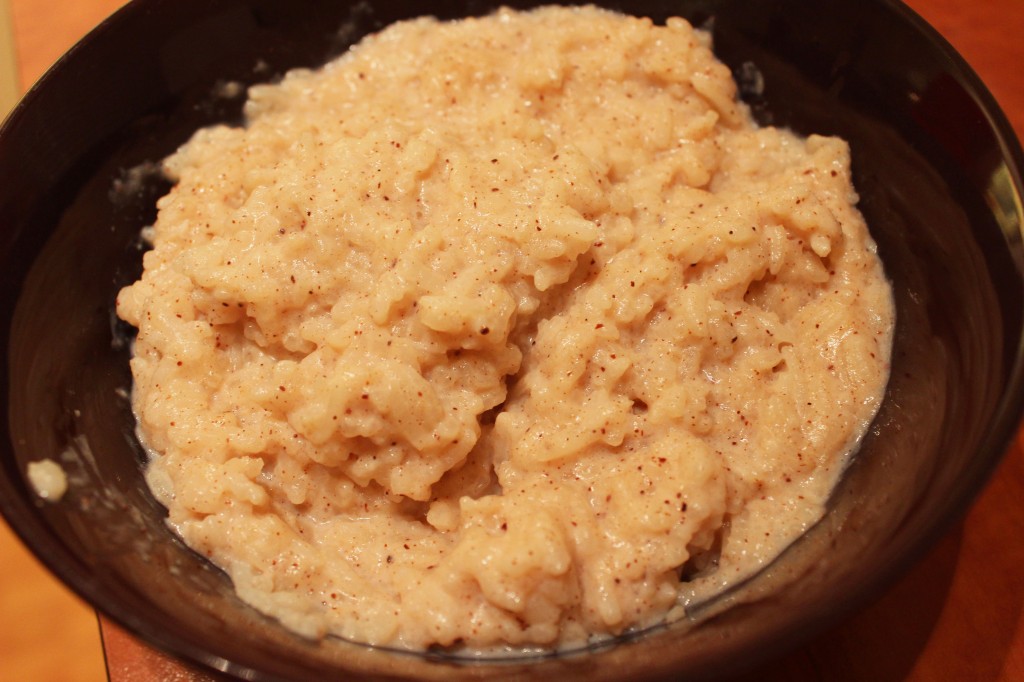
7. You’ll know it’s done when it is all thickened and looks like kinda like the picture below.
8. Scoop the pudding out and into a bowl and set aside to cool for about 15 minutes, stirring occasionally to let it air underneath. Then place it in the fridge to cool completely. This might take 30 minutes, depending on your fridge.
Prep before serving:
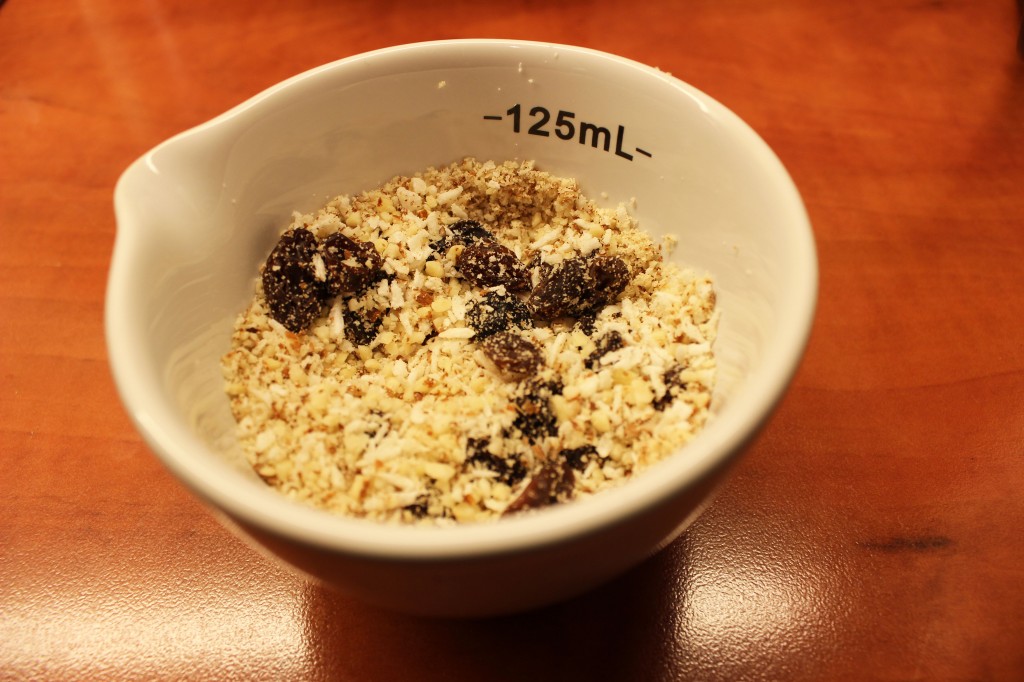
– Chop the almonds into chunks or blend in a food processor if you like it to be grainy. Mix the raisins with the chopped almonds, stir in the coconut flakes. Set aside. If you choose to skip the almonds, you can add 1 tbsp extra coconut flakes and raisins (this will make it sweeter)
Strawberry Sauce:
– Mash the strawberries well, or for greater results use a food processor to make your strawberries extra saucy. Add the stevia and blend well.
TIP:
If you don’t have a rice cooker, use a small pot and add
- 1/2 Cup Rice
- 1 Cup Water
Cook on high heat with lid, once the water has come to a boil turn off the stove and let it sit until the water has dissolved. About 15 minutes depending on your equipment.
If you have a rice cooker use the instructions given but add a bit more water to the mix because we need the rice to be a bit thicker and not so dry.
Serving:
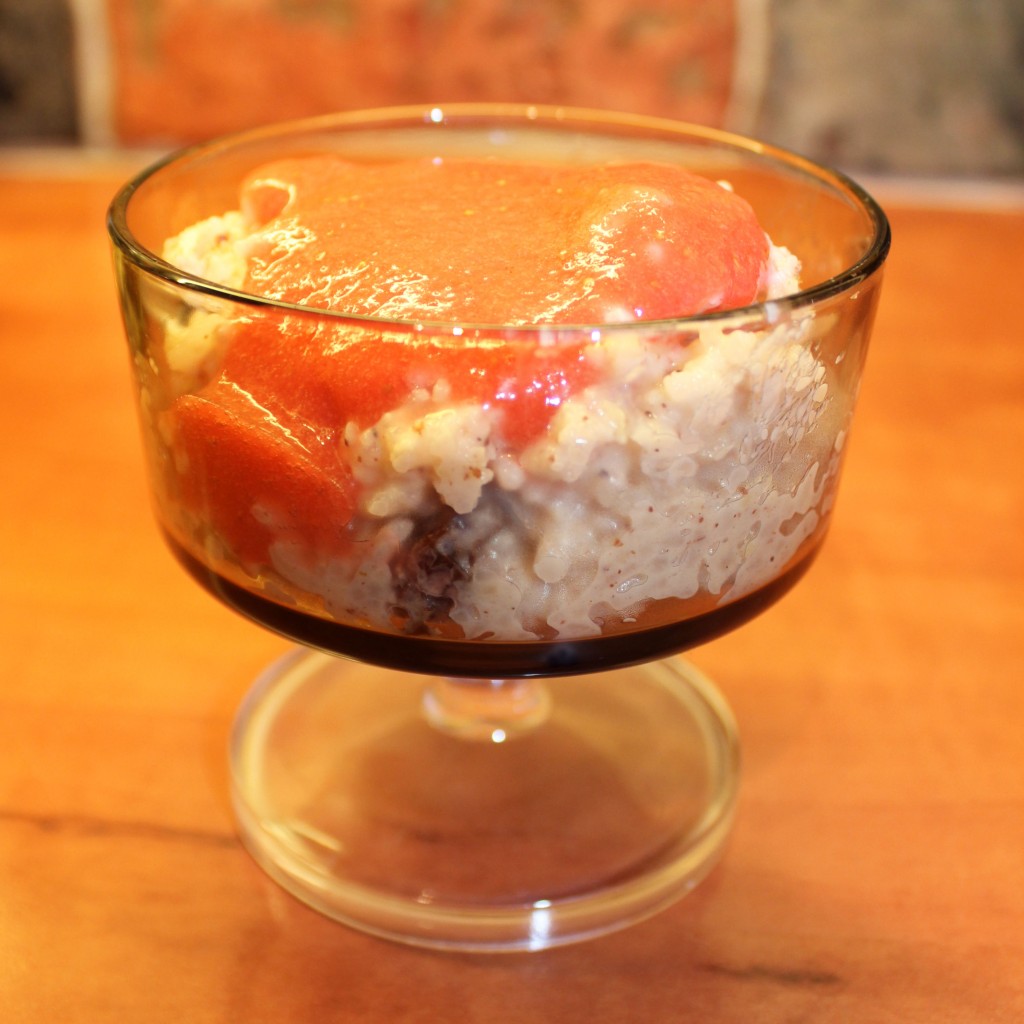
Stir together the cold pudding with the almonds, raisins and coconut flakes and serve the rice pudding in a small portion sized bowl or a glass. Pour the strawberry sauce on top and enjoy! 😀
Banana Bread
Bananas Are Wonderful!
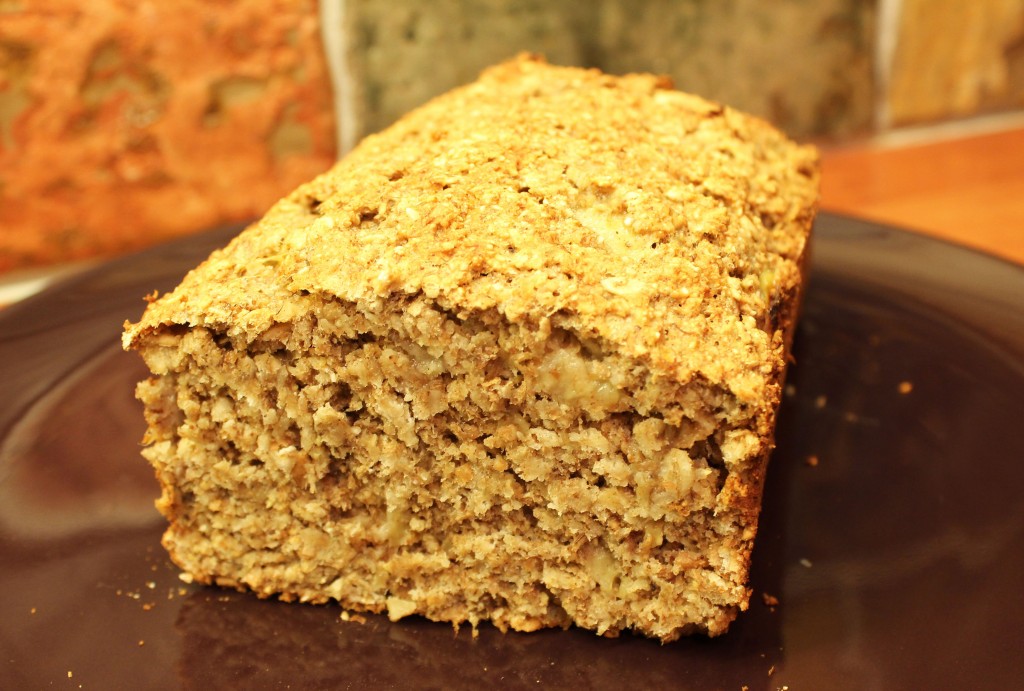
We’ve all noticed how the bananas develope brown spots after a few days and they don’t look as appetizing as they used to, so we end up throwing them away. DON’T! This is when they are perfect for making delicious banana bread 😀
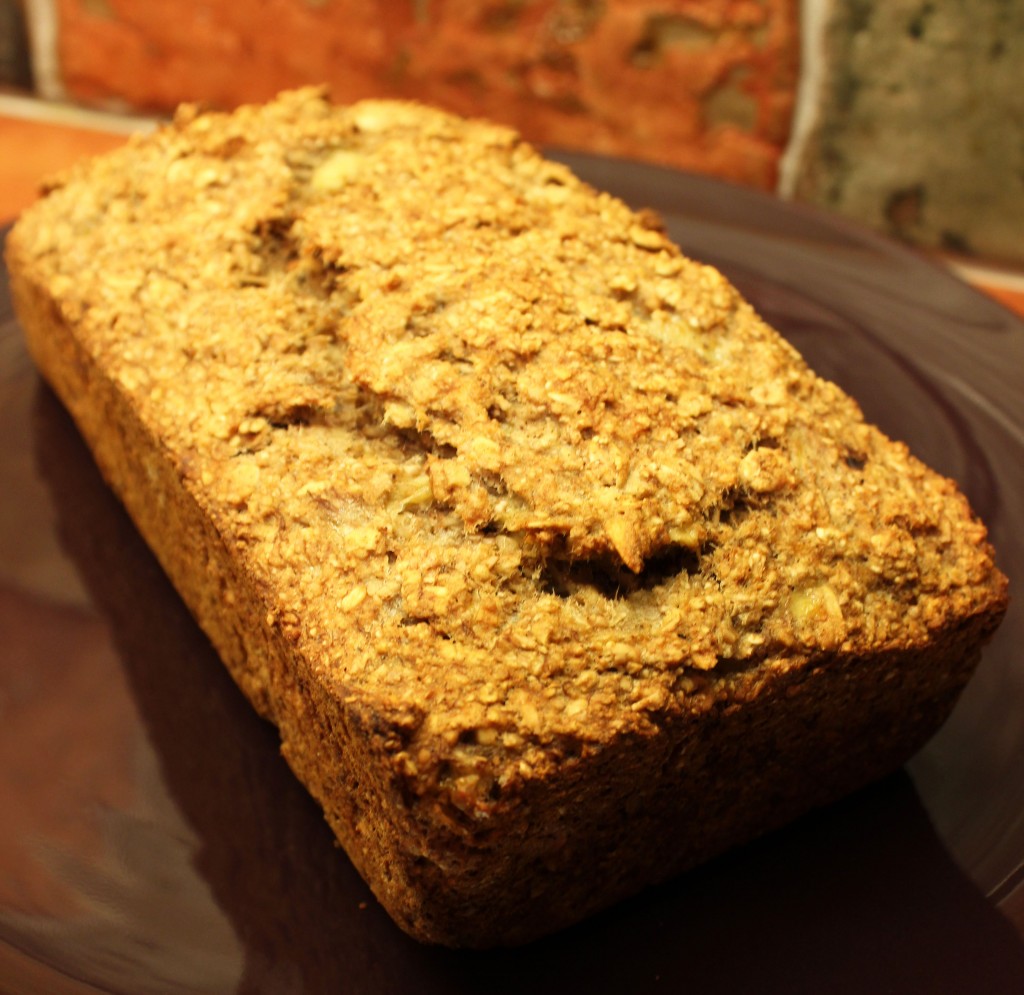
We’ve been experimenting with different recipes and ingredients, we feel confident we’ve finally made the perfect Banana Bread! This recipe only take 5-10 minutes to prepare and once it’s in the oven you can really smell the sweet cinnamon working it’s magic! It’s perfect when it’s still warm and it has that extra crispy outer shell and is moist on the inside. It’s also great as a lunch alternative for work or when you have company. This is how we did it.
You’ll need:
- 1 Cup Whole Wheat
- 1 Cup Oatmeal
- 1 Tbsp Stevia (optional)
- 1/2 tsp Baking soda
- 1 tsp Baking powder
- 2 tsp Cinnamon
- 1/2 tsp Salt
- 3 Bananas
1. Preheat the oven to 350 F (180 C)
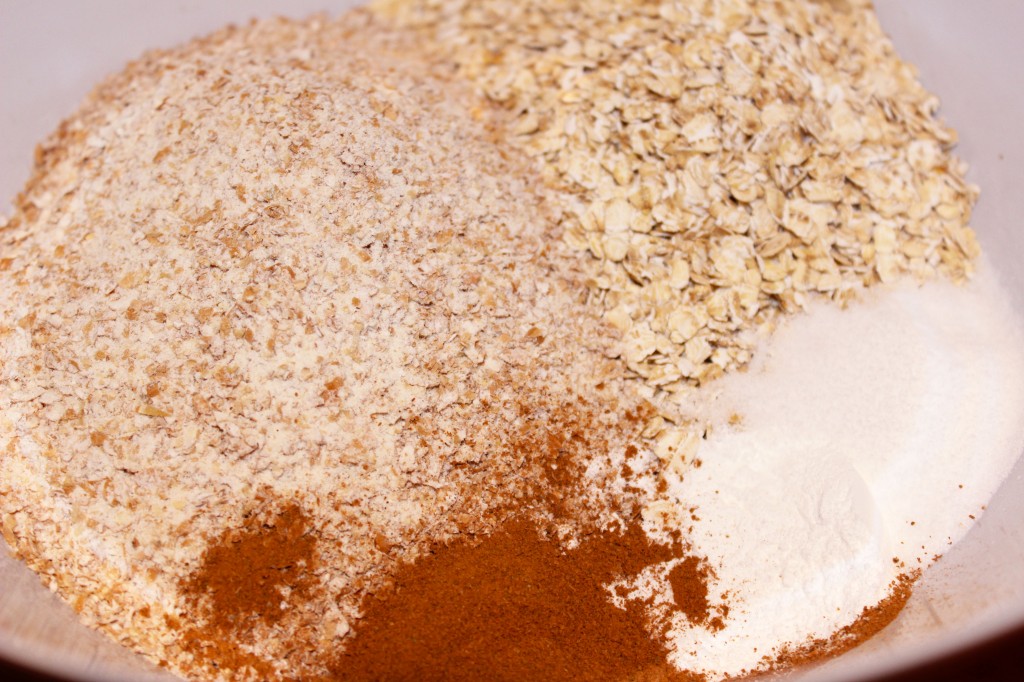
2. Mix all the dry ingredients together.
3. Mash the bananas and mix well with the dry ingredients.
4. Use a non stick bread pan (tin) or use baking paper. Pour the mixture in the pan and bake the bread for 30-40 minutes on the bottom shelf.
5. When it’s done take it out and set it to cool a bit before removing it from the pan.
Enjoy! 

