Category Archives: Tips & Tricks
Rice Pudding
There’s a way enjoying this recipe without making it super sweet and unhealthy. We love this recipe and hopefully you will to. Today we are going to show you how we make our “Sweet” Rice pudding without adding any sugar. Hopefully you guys will enjoy this as much as we do.
This is what you’ll need:
Serves 3
Ingredients:
- 1 Cup Coconut milk
- 1 Cup cooked Rice (white or brown)
- 1 Tbsp Coconut flakes
- 1 tsp Vanilla essence (or honey)
- 1 Tbsp Raisins
- 1/4 Cup Almonds (optional)
- 1 tsp of Cinnamon (to taste)
- 1 Cup fresh Strawberries
- 2. tsp Stevia (optional)
1. You’ll need 1 cup of cooked rice (white or brown). (see tip below on how to make your rice)
2. We need the thicker milk to be mixed with the liquid because it usually separates when stored for some time, so before you open the can of coconut milk shake it well (or stir it well).
3. Pour the coconut milk in a small pot and bring to simmer over medium low heat.
4. Add the vanilla essence (or honey) and cinnamon to the milk and stir to combine.
5. Add the cooked rice to the mix and continue stirring until it is evenly distributed.
6. Let it simmer on low heat in the pot for about 5-10 minutes, you’ll notice the milk starting to boil and the mixture will thicken.
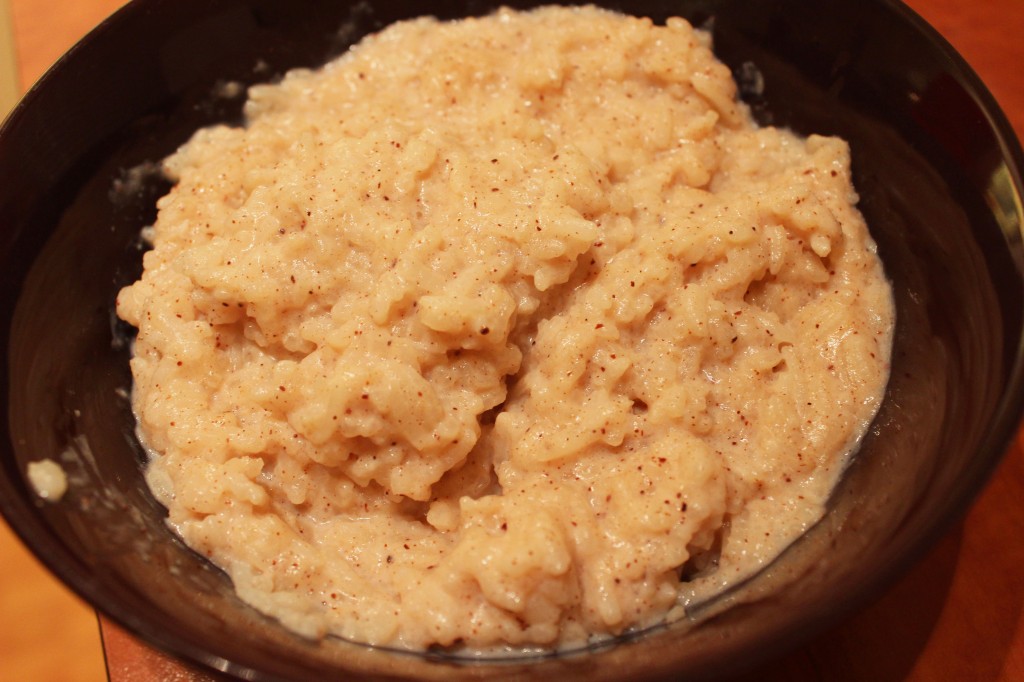
7. You’ll know it’s done when it is all thickened and looks like kinda like the picture below.
8. Scoop the pudding out and into a bowl and set aside to cool for about 15 minutes, stirring occasionally to let it air underneath. Then place it in the fridge to cool completely. This might take 30 minutes, depending on your fridge.
Prep before serving:
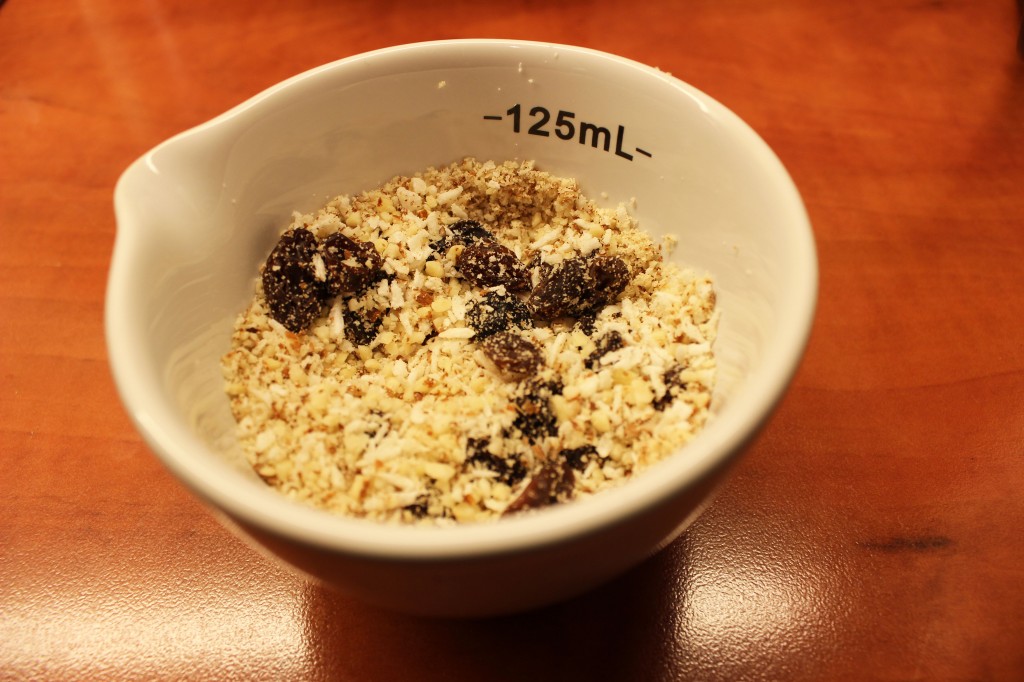
– Chop the almonds into chunks or blend in a food processor if you like it to be grainy. Mix the raisins with the chopped almonds, stir in the coconut flakes. Set aside. If you choose to skip the almonds, you can add 1 tbsp extra coconut flakes and raisins (this will make it sweeter)
Strawberry Sauce:
– Mash the strawberries well, or for greater results use a food processor to make your strawberries extra saucy. Add the stevia and blend well.
TIP:
If you don’t have a rice cooker, use a small pot and add
- 1/2 Cup Rice
- 1 Cup Water
Cook on high heat with lid, once the water has come to a boil turn off the stove and let it sit until the water has dissolved. About 15 minutes depending on your equipment.
If you have a rice cooker use the instructions given but add a bit more water to the mix because we need the rice to be a bit thicker and not so dry.
Serving:
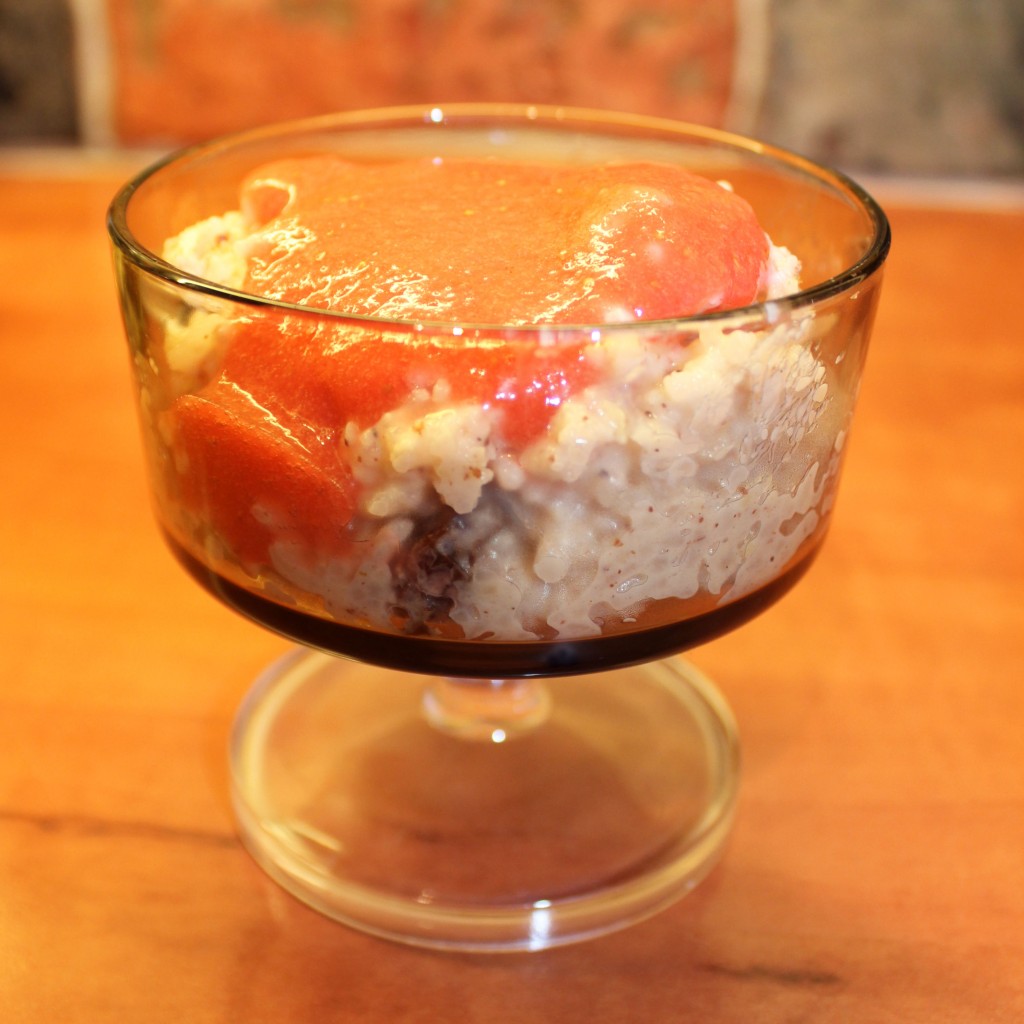
Stir together the cold pudding with the almonds, raisins and coconut flakes and serve the rice pudding in a small portion sized bowl or a glass. Pour the strawberry sauce on top and enjoy! 😀
Banana Bread
Bananas Are Wonderful!
We’ve all noticed how the bananas develope brown spots after a few days and they don’t look as appetizing as they used to, so we end up throwing them away. DON’T! This is when they are perfect for making delicious banana bread 😀
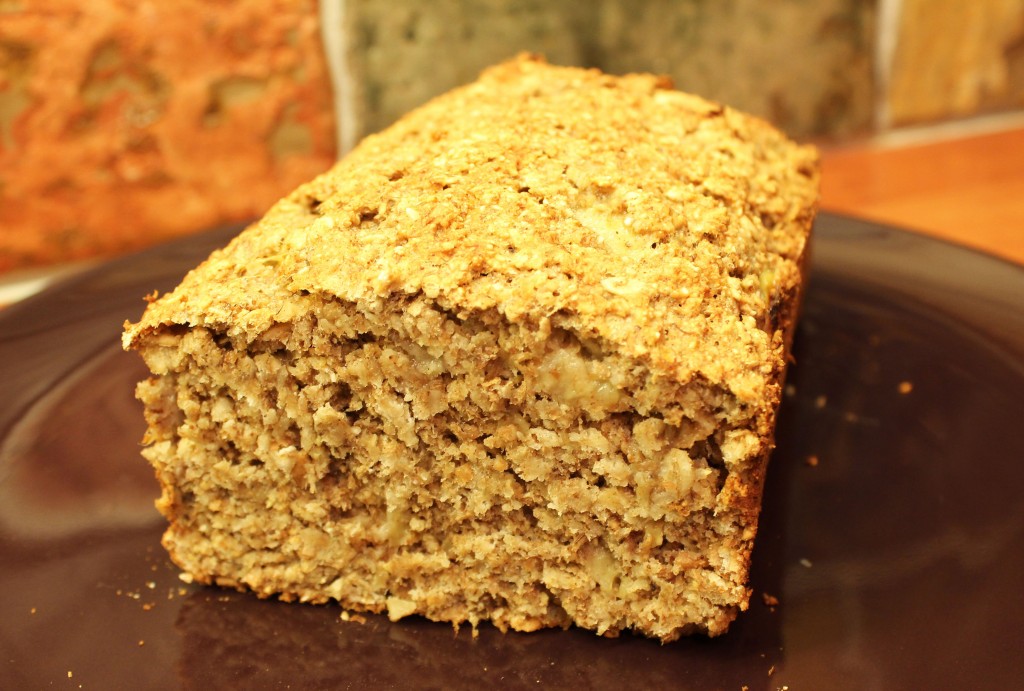
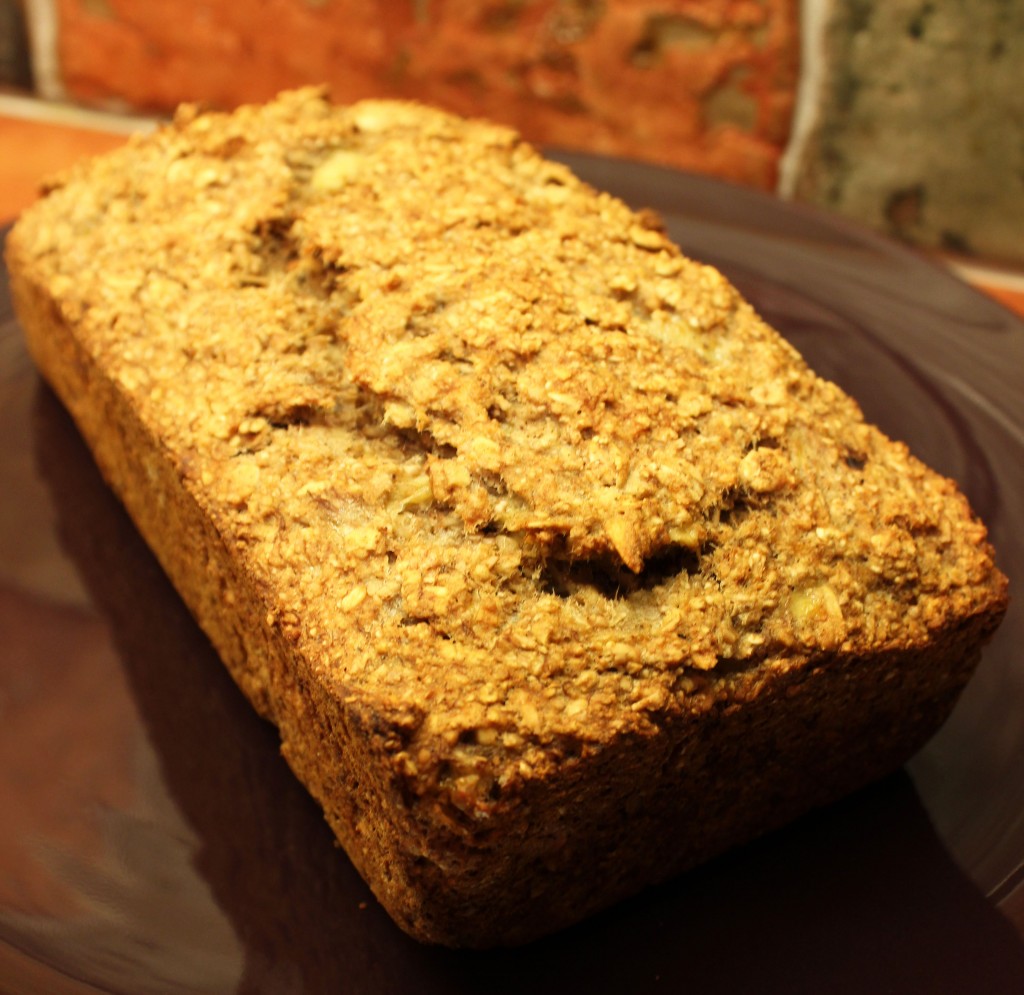
We’ve been experimenting with different recipes and ingredients, we feel confident we’ve finally made the perfect Banana Bread! This recipe only take 5-10 minutes to prepare and once it’s in the oven you can really smell the sweet cinnamon working it’s magic! It’s perfect when it’s still warm and it has that extra crispy outer shell and is moist on the inside. It’s also great as a lunch alternative for work or when you have company. This is how we did it.
You’ll need:
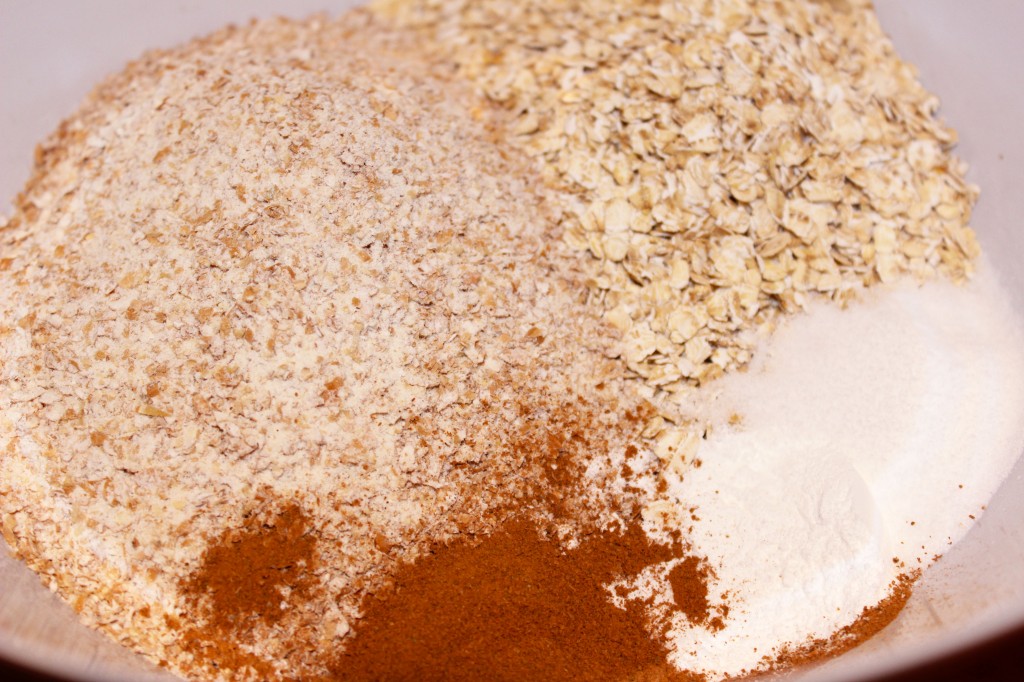
- 1 Cup Whole Wheat
- 1 Cup Oatmeal
- 1 Tbsp Stevia (optional)
- 1/2 tsp Baking soda
- 1 tsp Baking powder
- 2 tsp Cinnamon
- 1/2 tsp Salt
- 3 Bananas
1. Preheat the oven to 350 F (180 C)
2. Mix all the dry ingredients together.
3. Mash the bananas and mix well with the dry ingredients.
4. Use a non stick bread pan (tin) or use baking paper. Pour the mixture in the pan and bake the bread for 30-40 minutes on the bottom shelf.
5. When it’s done take it out and set it to cool a bit before removing it from the pan.
Enjoy! 
Healthy Veggie Wrap
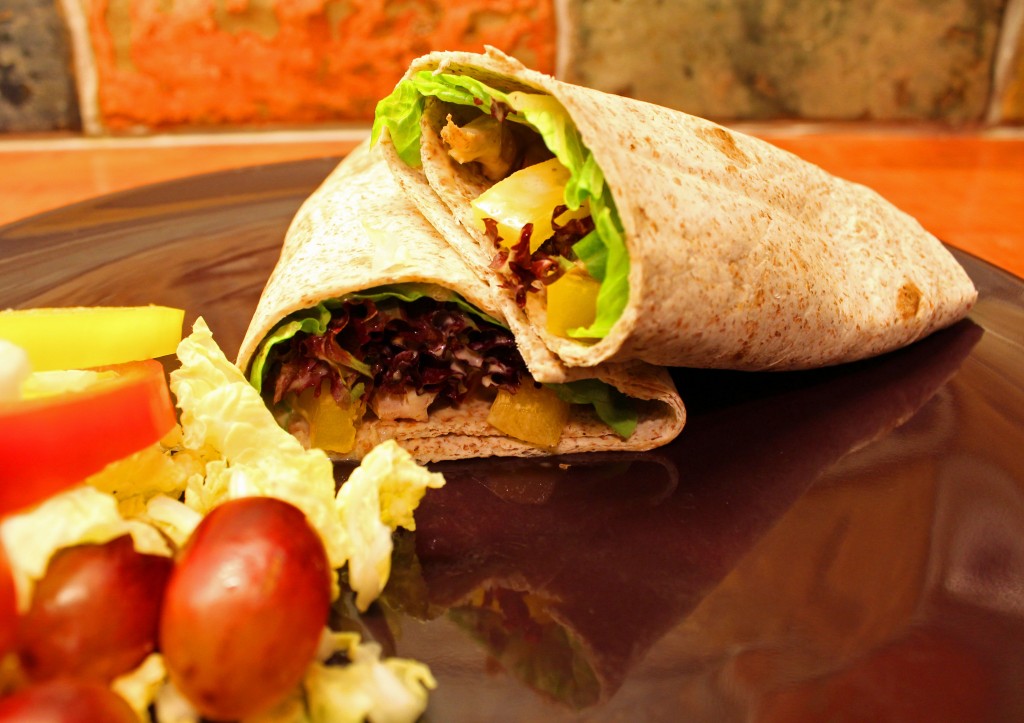
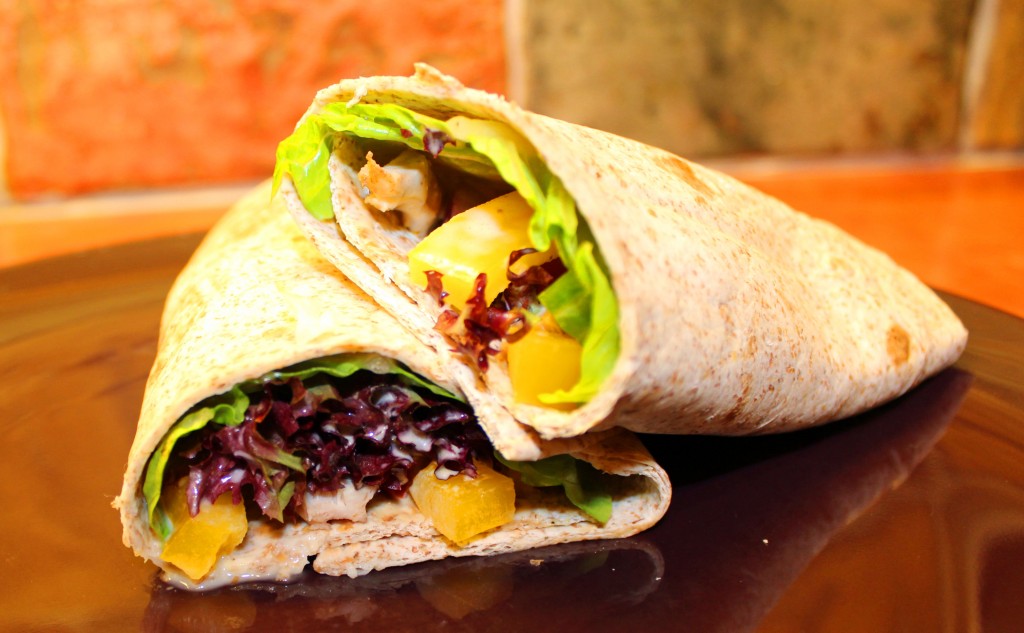 This wrap is great for breakfast, lunch and dinner!
  It’s healthy and really low in calories and fat. It’s great as a pure veggie wrap, you can also add some fish, chicken, black beans or even some chickpeas.
It’s important to choose a whole wheat tortilla because the white ones hardly have any nutritional value at all.
Ingredients:
- Red, green or yellow Bell Peppers
- Red Onion
- Romaine Lettuce
- Lollo Rosso Lettuce
- Rucola Lettuce (Arugula)
- Cucumber
- Tomato
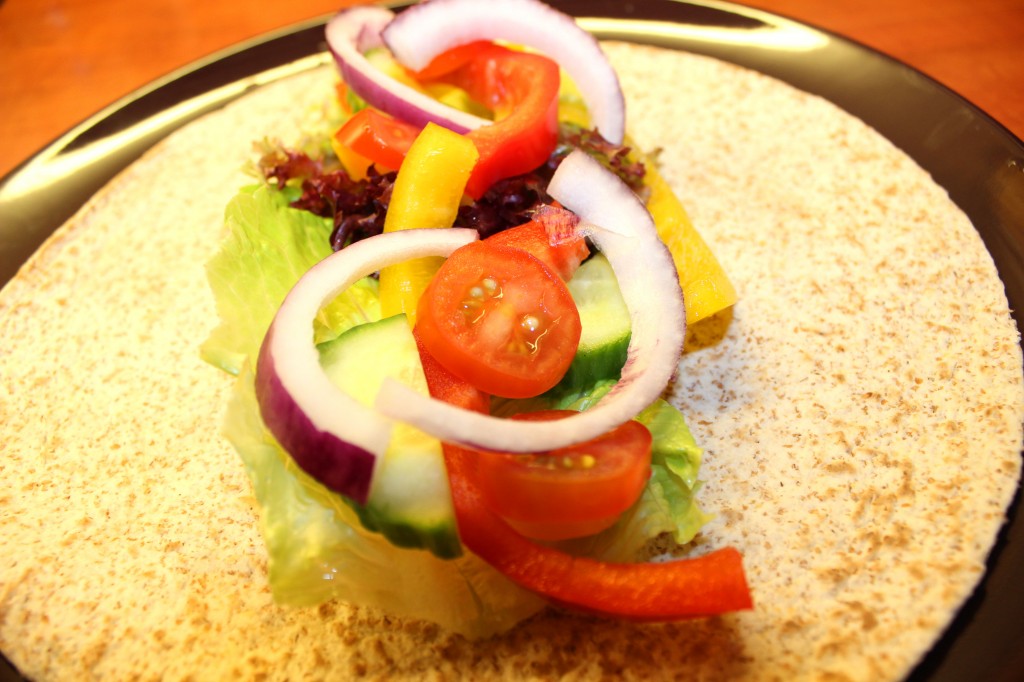
1. Place the tortilla on a plate and add the Romaine, Lollo Rosso and Rucula Lettuce on top of each other.
2. Cut the remaining vegetables in chunks or however you want it, and place on top.
3. Then you add the chicken, fish, beans or peas on top and enjoy.
You Can Also Add:
- Add some Tabasco sauce or chili peppers if you’d like it a bit spicy.
- Avocado Hummus is also great with this
- Low fat dressing (read the label and make sure it’s actually low in fat)
- Add some red grapes or sweet corn for some sweetness
- Basically anything can go with this wrap, make it your own with your favorite vegetables
How to make the chicken:
This is how I make my low fat chicken.
You’ll need:
- Fresh chicken breast
- Vegetable Stock (from the store or make your own, recipe coming soon)
- Salt & Pepper to taste
Cut the chicken breast in half (split it in the middle to make two thin slices). Boil enough water so it will cover the chicken breasts. Add the vegetable stock, then place the chicken in the boiling water for about 15 minutes. You can add the salt and pepper before or after, whatever you prefer.
When the chicken is done, drain the water. Let the chicken cool and cut into chunks. Enjoy 
Adding Coconut Oil To Your Diet
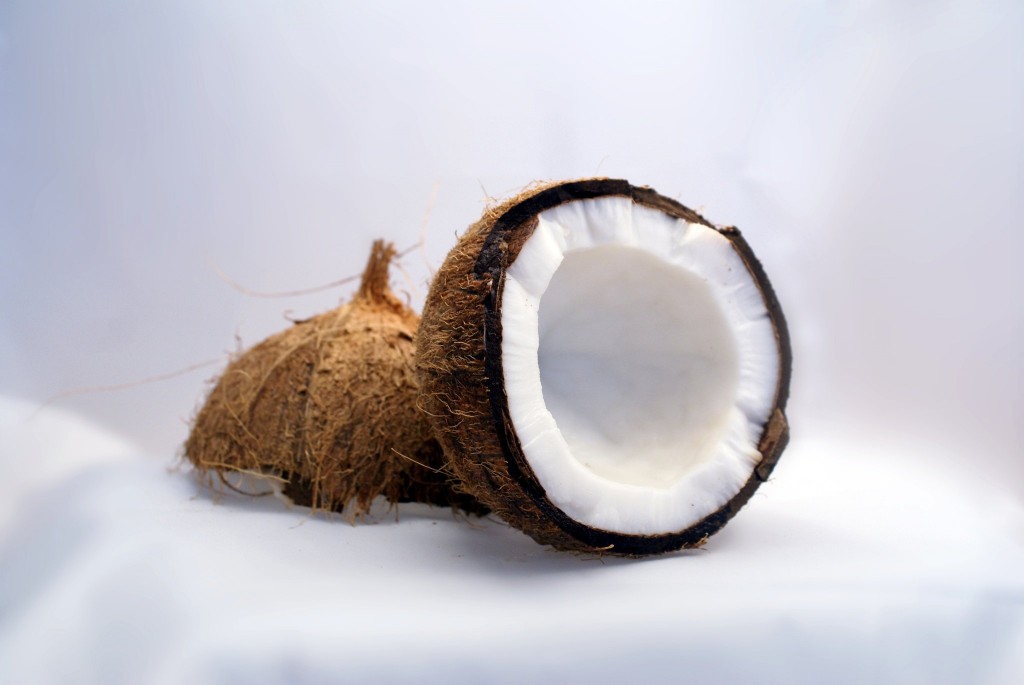
We posted an article about the benefits of coconut oil and what it does for your body, but we’ve had some questions about how to use it in food and how they can still eat it without tasting it at all.
You should try to consume 2 tbsp of coconut oil every day, organic virgin is better for cooking and organic extra virgin is great when eating it raw like with your smoothies and coffee. We’ve asked and looked around and there are so many simple ways of adding this to your diet!
Coconut Oil has the closest consistency to butter. It is smooth in room temperature, however after you’ve opened the container it will turn liquid at 24C/75.2F. So don’t freak out if it all of a sudden is clear as water. It goes solid (hard) when cooled, and turns liquid when heated. It has a pleasant sweet, mellow taste that adds just a slight unassuming flavor to foods without overpowering other tastes in the dish!
If you’re a regular coffee/tea drinker, you might want to just add a teaspoon of coconut oil each time, or if you really like the taste of coconuts, go ahead and add the whole amount with your breakfast coffee/tea.
Smoothies, Shakes & Juices:
So simple, just mix it with the other ingredients and enjoy.
Cooking:
Coconut oil is great for cooking! You can use it for basically anything, you can even use it as a substitute for butter when your baking/cooking (1:1 ratio). You can add it to any recipe, like: cookies, bread, chocolate, cakes, the list is endless  The coconut oil will keep your baked goods fresher for longer and even make them more moist and richer in taste. Try it on your toast, you’ll be pleasantly surprised.
Other:
You can add it to your oatmeal, yoghurts, sauces, I can go on forever, but you really just need to use your imagination and get creative. Start by trying it with your favorite food. You never know you might end up having your own recipe to share with your friends and the rest of the world.
Don’t like the taste of coconut:
If you don’t like Coconut oil, that’s OK! Like I mentioned earlier, Coconut Oil doesn’t have a dominating taste. Now, if you really want to reduce the flavor there are a few ways of doing exactly that! If you’re making a smoothie for example, you can use all kinds of citrus fruits. They are really over powering so much so that you wont taste it at all, especially if you use lemons or lime. You can also use bananas, ginger, mint leaves the list goes on. Just pick something you know has a strong flavor. If you have super taste buds, I’d recommend you use a little less than 2 tbsp, start off with 1 tbsp and work from there. If you start adding this to your diet every day your palate will change and you’ll get so used to it that you wont even taste it anymore or better yet end up loving it and wanting more!
If you’d like to use it as a substitute for butter on your bread, bagels or anything in that category, I recommend you go the same way as earlier, choose something that overpowers the coconut, like peanut butter or jam (organic).
If you use it when baking just use half and half of coconut oil, and butter, preferably without salt & dairy to stay on the healthier path. However you’ve still come a long way even if you go with your regular choice of butter, because half of it will be coconut oil 
Coconut Milk Whipped Cream:
You should also try coconut milk, it’s really magical! You can use it as whipped cream. If you’ve bought coconut milk, you’ve probably noticed that there’s usually some liquid and there’s a solid white part, that’s what you’d want to use. Separate the liquid from the white milk, and add it to your mixer and stir it until you can see it getting the same consistency as whipped cream. It usually doesn’t take more than 2-4 minutes, depending on your mixer. You should add some vanilla to taste.
Hope this helps, and good luck! If you’ve got any tips or a recipe, comment and share so we can all enjoy it as much as you do 
Juicing
By juicing you feed your body with a WHOLE LOT of nutrients and vitamins! If you don’t like eating fruits and vegetables every day, try drinking it! It’s great, you can make your own juice super quick, no problem!
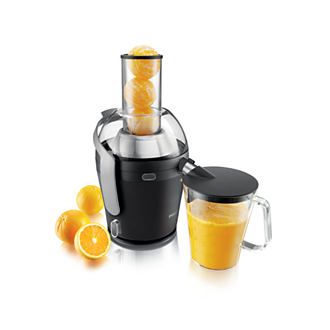
It is important to have the correct juicer though, Philips have had the best juicers on the market for many years now, the three most popular juicers are:
1. Philips Juicer HR1861
2. Philips Avancer HR1871 or HR1869
3. Philips HR1863, from the Viva Collection. This is just a smaller version of the Avancer.
They are all super easy to clean, it only takes 2 minutes. SERIOUSLY! They all have a wide tube so you can fit almost any fruit or vegetable through the tube. The Avancer has an XXL tube and that literally takes anything! The great thing about these juicers you only have to peel the citrus fruit (exept lemons & limes) anything else goes with the peel still on! You can’t juice bananas! They can only go in the blender 
I’ve had a look at all the three juicers and I prefer the design of the Avancer, because it looks nicer and you can see the juice being made and the compost is hidden below out of sight.
If you want to know more about juicers and juicing there is nobody better than The Juice Master Jason Vale. Head over to his page and have a look!

